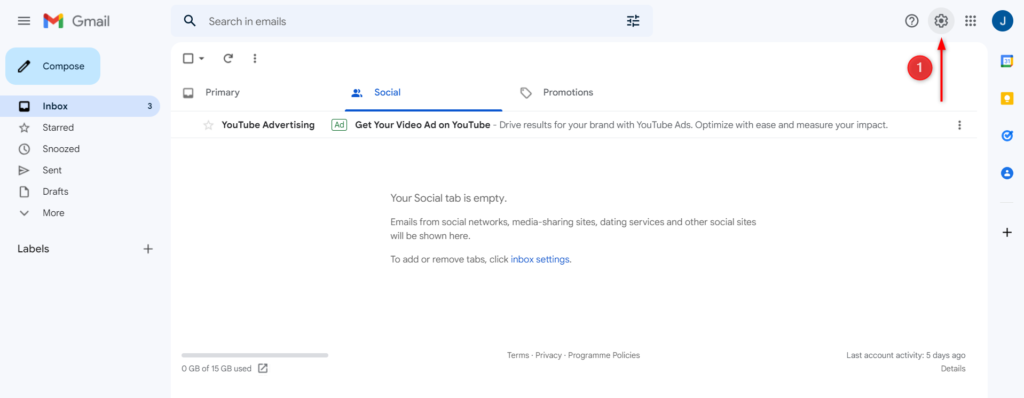
1) Visit Gmail and log in to your Google account. Next, click Settings.
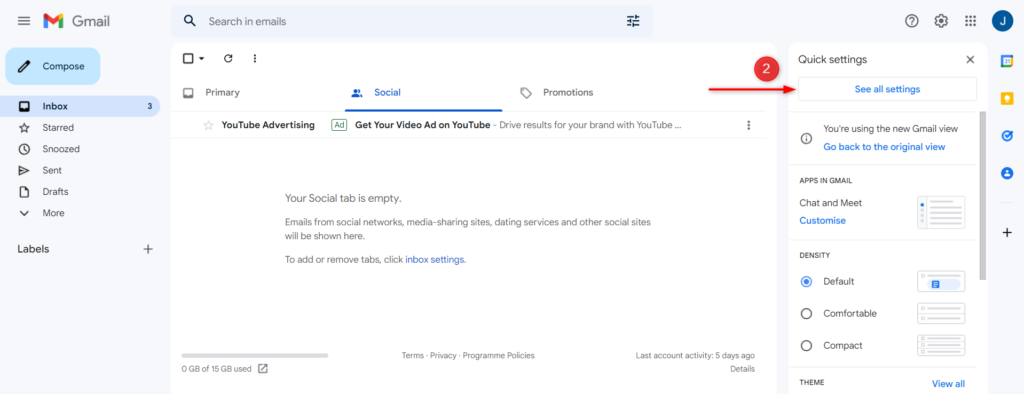
2) Next, click See All Settings.
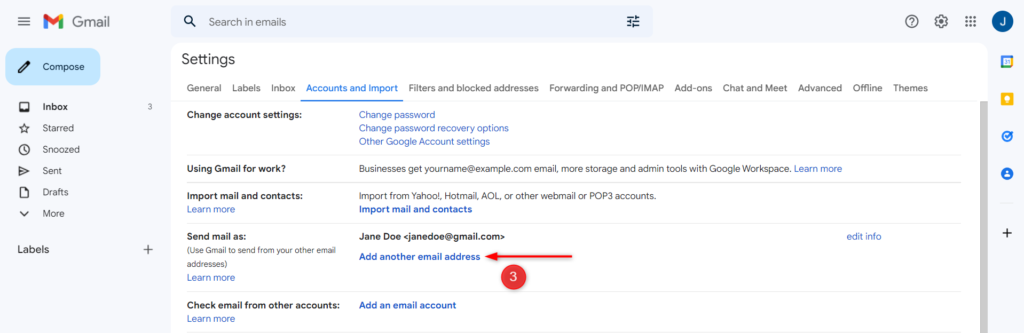
3) Under ‘Accounts and Import’ click Add Another Email Address. This will open a pop-up window.
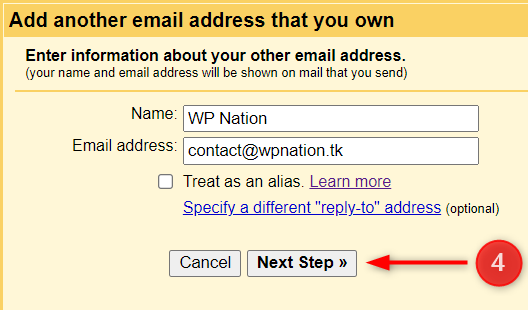
4) Here you’ll need to enter the following information:
Name: Your Name or Business Name
Email Address: The email we have set up for you
Treat as an Alias: Uncheck it (For details, visit this article)
Click Next Step.
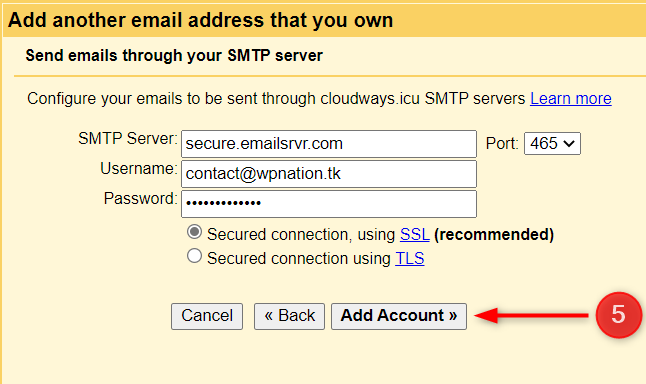
5) Next, enter the following information:
SMTP Server: secure.emailsrvr.com
Port: 465
Username: The email address we have setup for you
Password: The password we have given you
Connection: Select the Secured connection, using SSL (recommended)
Next, click Add Account.
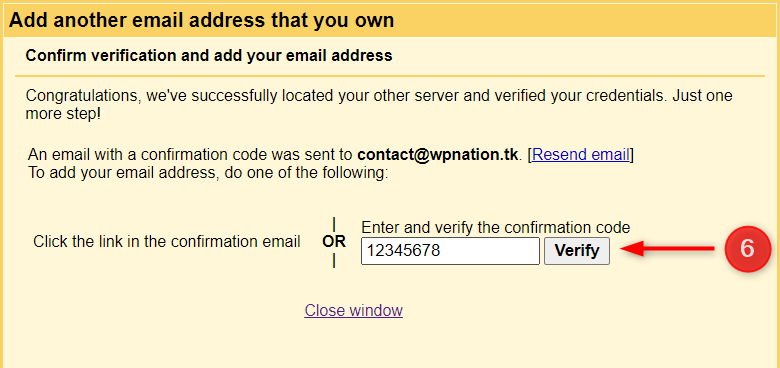
6) Gmail will now send a verification code to your Rackspace email account to verify the ownership; therefore, check your email using Rackspace webmail (login with the email address and password we have provided) and enter the code. Finally, click Verify.
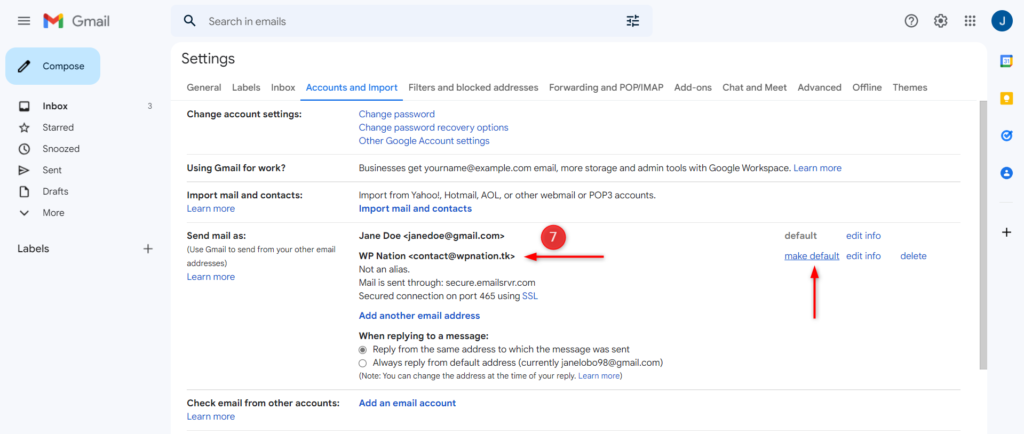
7) That’s it! Your mailbox is successfully added, which means you can send emails using your Rackspace email from your Gmail client.
Next, we need to ensure your Rackspace emails are also received by Gmail.
If you plan to use your Rackspace email address most regularly instead of your Gmail address, you can make it the default sending address by clicking Make Default which is optional.
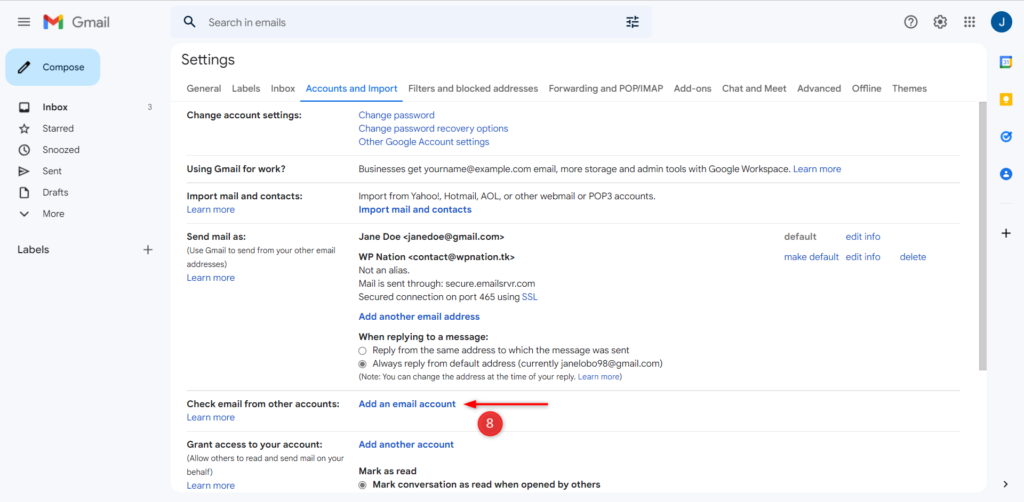
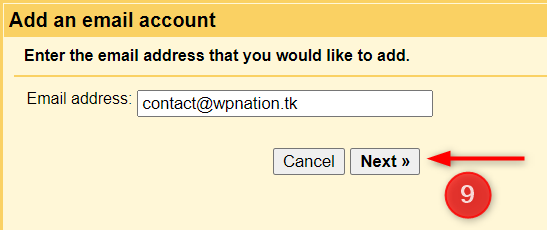
8) Next, click Add an Email Account. This will open a new pop-up window.
9) Here, enter the email address we have setup for you and click Next.
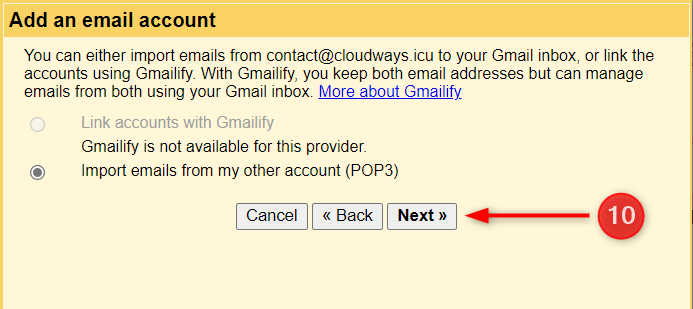
10) Proceed with the default option selected, e.g., Import emails from my other account (POP3). Click Next.
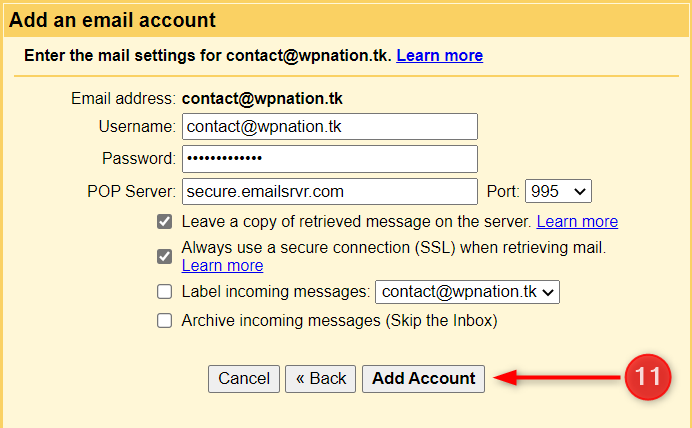
11) Next, enter the following information:
Username: The email address we have setup for you
Password: The password we have given you
POP Server: secure.emailsrvr.com
Port: 995
Leave a Copy of Retrieved Messages on the Server: Check it if you would like to keep a copy of each message Gmail retrieves from your Rackspace Webmail (recommended). All the emails are then available in both places. This way, you can access mail in your other accounts and Gmail.
Always Use a Secure Connection (SSL) When Retrieving Mail: Check it.
Label Incoming Messages: It is optional if you want to label your incoming messages.
Archive Incoming Messages: It is optional if you want to archive your incoming messages instead of going to the inbox.
Finally, click Add Account.
Gmail will now start fetching emails from your Rackspace mailbox periodically so you can view and manage emails from the Gmail client.
Congratulations! You have successfully configured your Rackspace mailbox with Gmail. The email fetching and syncing process between Gmail and your Rackspace mailbox may take some time based on the amount of email data to be fetched.
This information was provided by Cloudways.